

Both amateur and expert photographers may attest to Adobe Lightroom’s potent photo editing features. However, using this programme can initially seem intimidating to newcomers. That’s where Lightroom preset come in as a useful tool for streamlining the editing process and effortlessly producing results of professional calibre. We will go over all you need to know about Lightroom presets and how to use them effectively in this in-depth guide.
What Are Lightroom Presets?
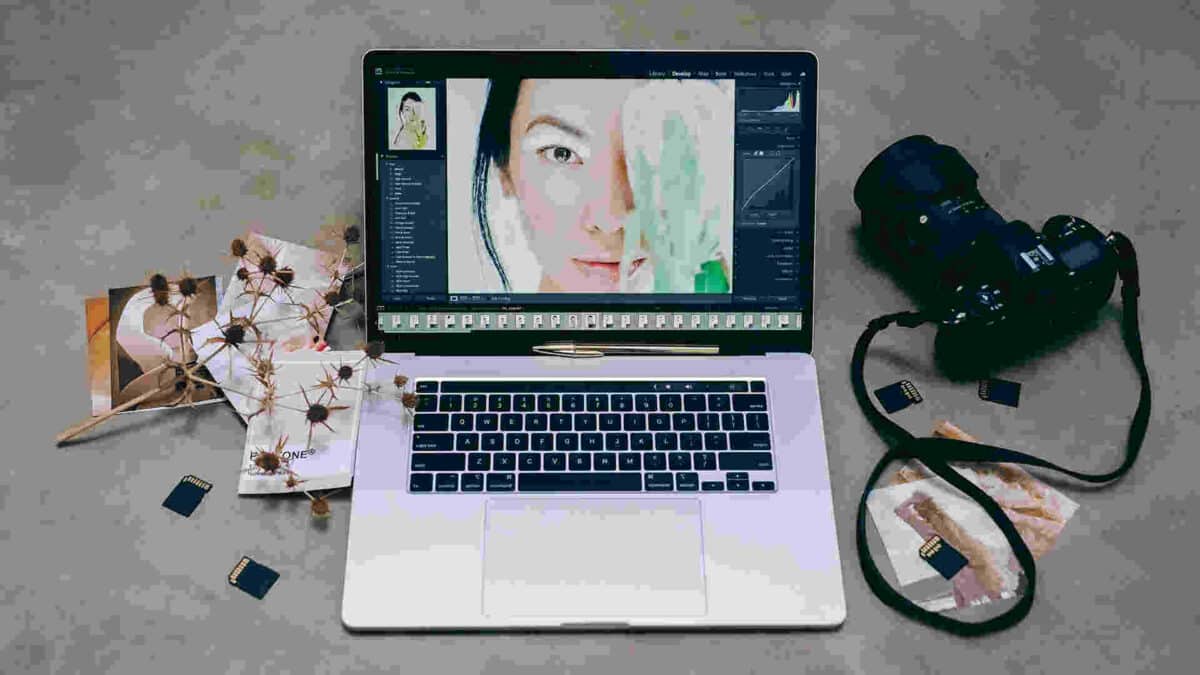
Let’s begin with the fundamentals: What precisely are presets in Lightroom? Presets in Lightroom are straightforward settings that you may apply to your photographs to rapidly change how they look. The modifications included in this set of settings include those for exposure, contrast, colour balance, and more.
The beauty of Lightroom presets lies in their versatility and time-saving capabilities. They allow you to apply complex edits with just a few clicks, making them ideal for beginners who are still getting acquainted with the intricacies of photo editing.
Why Use Lightroom Presets?
- Consistency: One of the biggest advantages of using presets is that they help you maintain a uniform style and feel throughout your photographs, which is crucial if you’re creating a strong portfolio.
- Time-Saving: You might not be well-versed in the complexities of photo editing as a novice. Presets can drastically cut down on the amount of time it takes to edit your images.
- Learning Tool: Presets are a great resource for learning. Beginners can learn how various tweaks affect the final image by looking at the preset’s parameters.
- Experimentation: Experimentation is encouraged through presets. Different presets can be applied to the same image to evaluate which one best suits your vision.
Finding and Installing Lightroom Preset
Before you can start using Lightroom presets, you’ll need to acquire and install them. Here’s a step-by-step guide:
-
- Purchase or Download Presets: You can find Lightroom preset on various websites, some free and others for purchase. Ensure you choose presets that align with your preferred photography style.
- Locate Your Lightroom Presets Folder: Lightroom stores presets in specific folders on your computer. To find them, go to the “Develop” module, click on “Presets” in the left-hand panel, right-click on any preset, and choose “Show in Finder” (on Mac) or “Show in Explorer” (on Windows).
- Install Presets: Once you’ve downloaded your presets, copy the preset files (usually in .lrtemplate or .xmp format) into the “Develop Presets” folder you found in step 2.
- Restart Lightroom: Close and reopen Lightroom to ensure that the newly installed presets are recognized.


Applying Lightroom Presets
Now that you have your presets installed, let’s dive into how to apply them to your photos:
- Select a Photo: Start by selecting the photo you want to edit in the Library module.
- Go to the Develop Module: Click on “Develop” in the top right-hand corner to access the Develop module.
- Choose a Preset: In the left-hand panel, you’ll see the “Presets” tab. Here, you’ll find a list of the presets you’ve installed. Click on a preset to apply it to your photo.
- Fine-Tune if Needed: Presets are not one-size-fits-all. Depending on the lighting conditions and your specific preferences, you may need to make further adjustments using the sliders in the Develop module.
You may also visit here for More PSD
Creating Your Own Lightroom Preset
As you gain experience with Lightroom, you might want to create your own presets to streamline your editing workflow. Here’s how:
- Edit a Photo: Start by editing a photo until you achieve a look you like. This will serve as the basis for your preset.
- Go to the Develop Presets Panel: In the left-hand panel of the Develop module, click the “+” icon next to “Presets” and choose “Create Preset.”
- Name Your Preset: Give your preset a descriptive name that reflects the changes you’ve made.
- Choose Preset Settings: Select which settings you want to include in your preset. You can choose from exposure, contrast, white balance, and more.
- Save Your Preset: Click “Create” to save your preset. It will now appear in your Presets panel, ready for use on future photos.
Tips for Using Lightroom Preset Effectively
To make the most of Lightroom presets as a beginner, consider these additional tips:
- Organize Your Presets: As you accumulate more presets, organizing them into folders can help you stay organized and find the right preset quickly.
- Adjust Opacity: When applying a preset, you can adjust its opacity to control the strength of the effect. This allows for more subtle changes.
- Learn from Presets: Analyze the presets you use to understand how they affect your photos. This knowledge will help you become a better photo editor.
- Combine Presets: Don’t hesitate to apply multiple presets to a single photo to achieve a unique look.
Conclusion
Presets for Lightroom are a user-friendly approach to improve your photographs and hone your editing abilities. You can use presets with ease, save time, and quickly produce professional results by following the instructions provided in this guide. Presets are a useful tool that may streamline your workflow and take your photography to new heights as you gain experience.
Investigate the world of Lightroom presets now. You’ll be astonished at the transforming impact they bring to your photography with a little practise and experimenting.
Always keep in mind that practise makes perfect, and the more you play with presets, the more comfortable and adept you’ll become with the craft of Lightroom photo editing.
Happy editing!
Download Lightroom Software